
Delivered promptly and worked perfectly on Mottram MLP191020 Shield. (A lot better than previous ones supplied by direct order Chinese Supplier!)

Product is great quality.
Package was damaged during postage and some items were missing, customer support resolved the issue quickly sending out replacements.
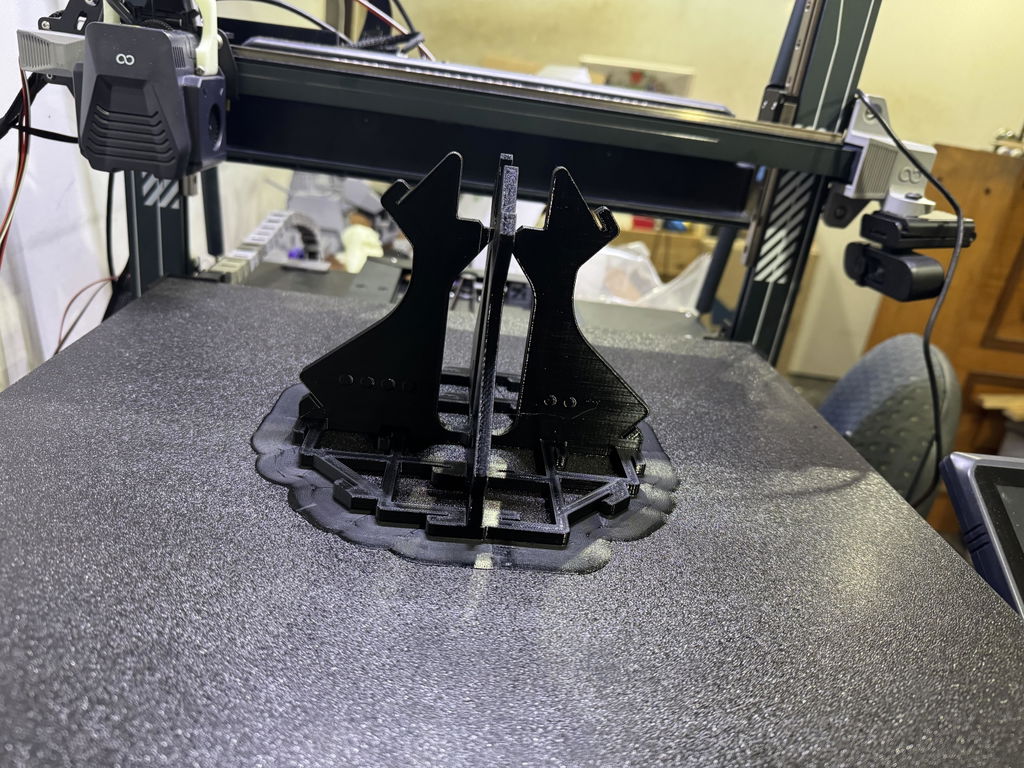
Works as expected. Remember to calibrate flow and pressure advance before running the calibration print.
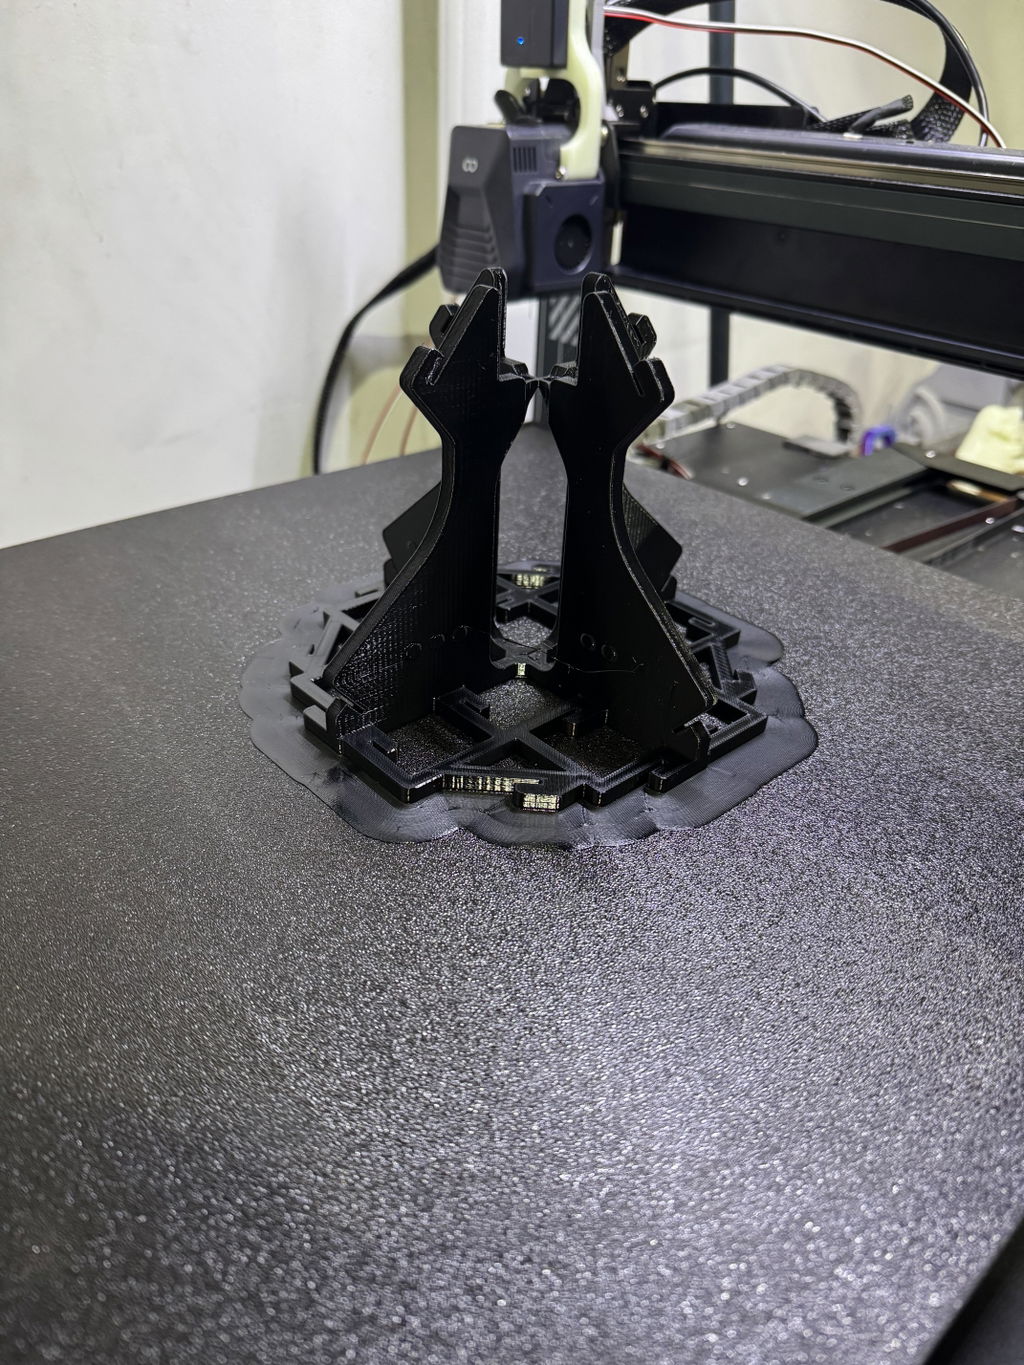
Perfect for doing the fine tune on my voron 2.4 for shrinkage adjustments
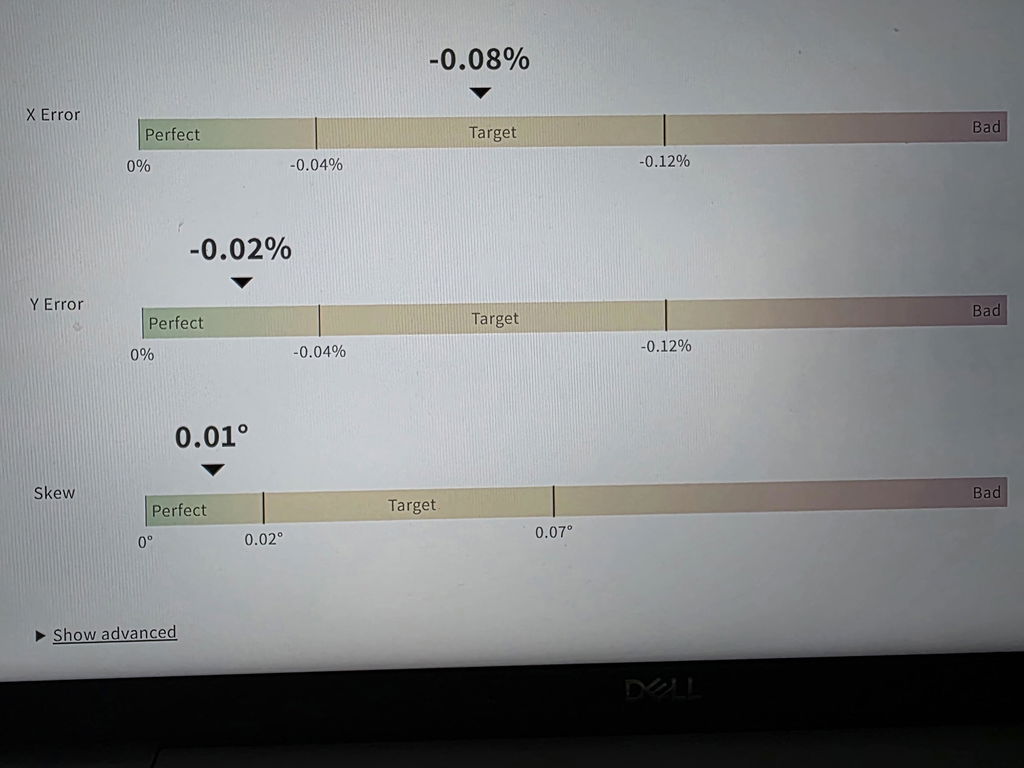
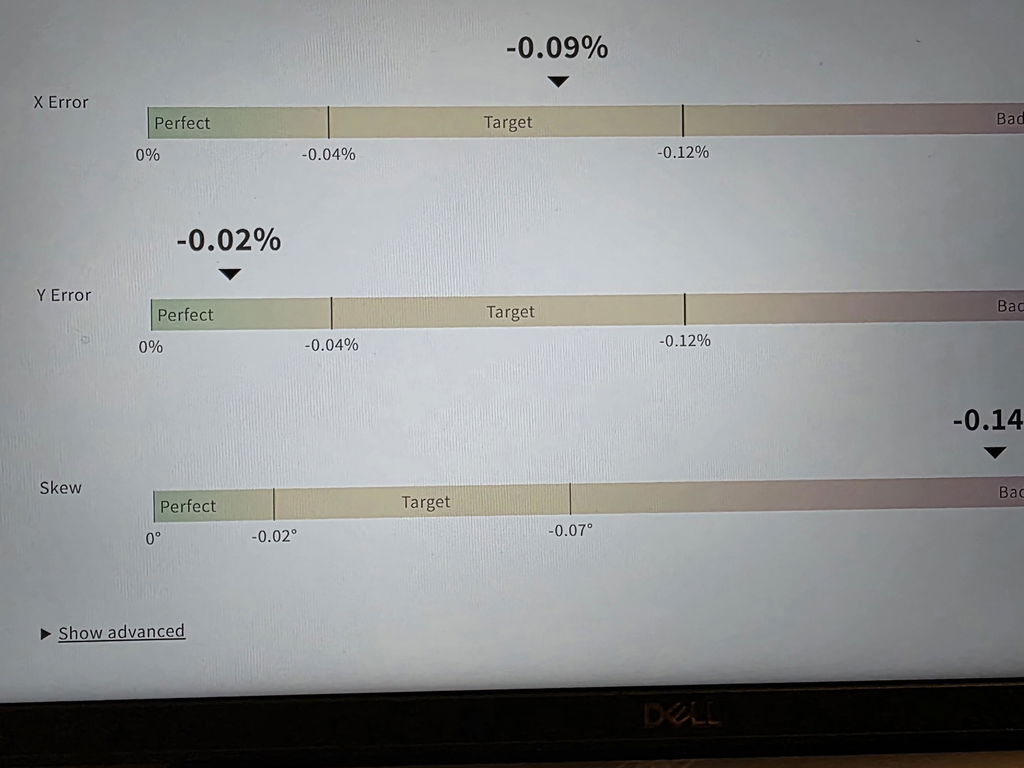
0reat calibration tool to get desirable skew on your 3d printer in just 1 step


Very good kit, very well designed, its working well in New Zealand.
fast delivery, high quality products as usual.
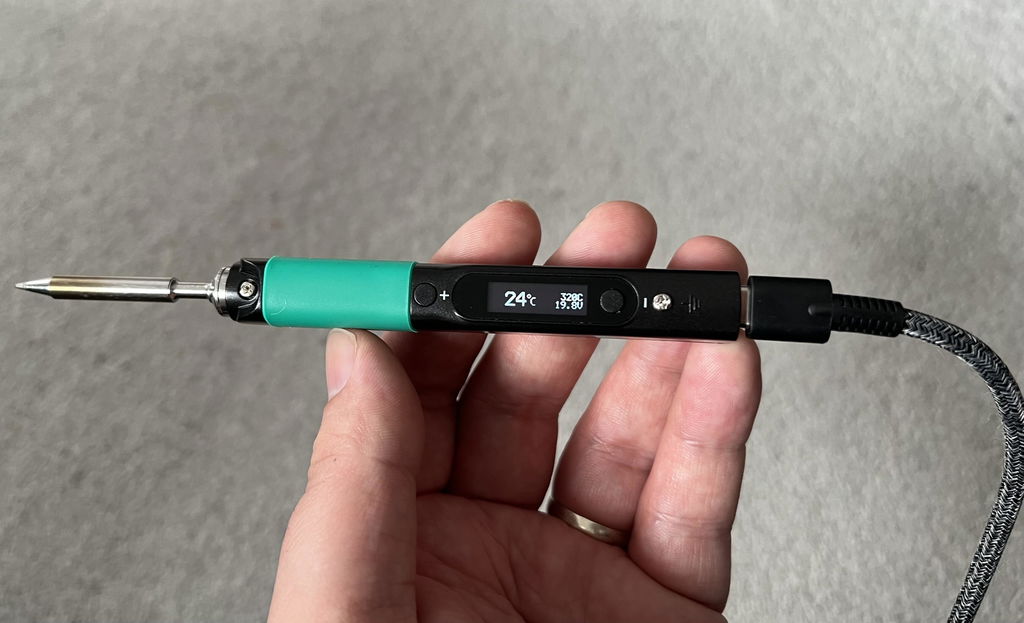
Smaller soldering iron than I anticipated but that’s a positive as it’s very comfortable to use but also feels solid. Heats up very quickly and the controls are pretty intuitive once you know what they’re all doing.
Really quick postage too, was the first thing I purchased from vector3d but won’t be the last!
Good idea and good Excel Calculator.
This was the first thing I ever used to calibrate my 3D printer and it made the whole process straight forward. The website tool is clear, and easy to use, and the print itself is very well thought out. I went from a machine that was poorly calibrated to one that produced significantly more accurate parts.
A great tool for precise 3d printing. The web tool provides clear guidance for operation. One thing I hope the vendor will provide is a print-friendly page (A4). I'd like to file my test result, and currently, the web page is optimized for smart phone which is too long for print. Only some core information such as printer, slicer profiles, print material,dimension measurements and correction values for size and skew are preserved for printing.
Long print but worth it.
fixed my skew and and shrink of abs parts now it feels strange to have square accurately size parts :)
Excellent pen Excellent service
Printed the 150mm version as I have a large printer, used the online system to calculate adjustments and now everything comes out spot on. Much more accurate than using the cube method
This soldering iron is way better than the clunky things I’m used to using. :-)