Vector 3D
VLMP 2 Heat Set Insert Press Hardware Kit
Out of stock
Couldn't load pickup availability
New stock expected 10th September.
About VLMP 2 Hardware Kit
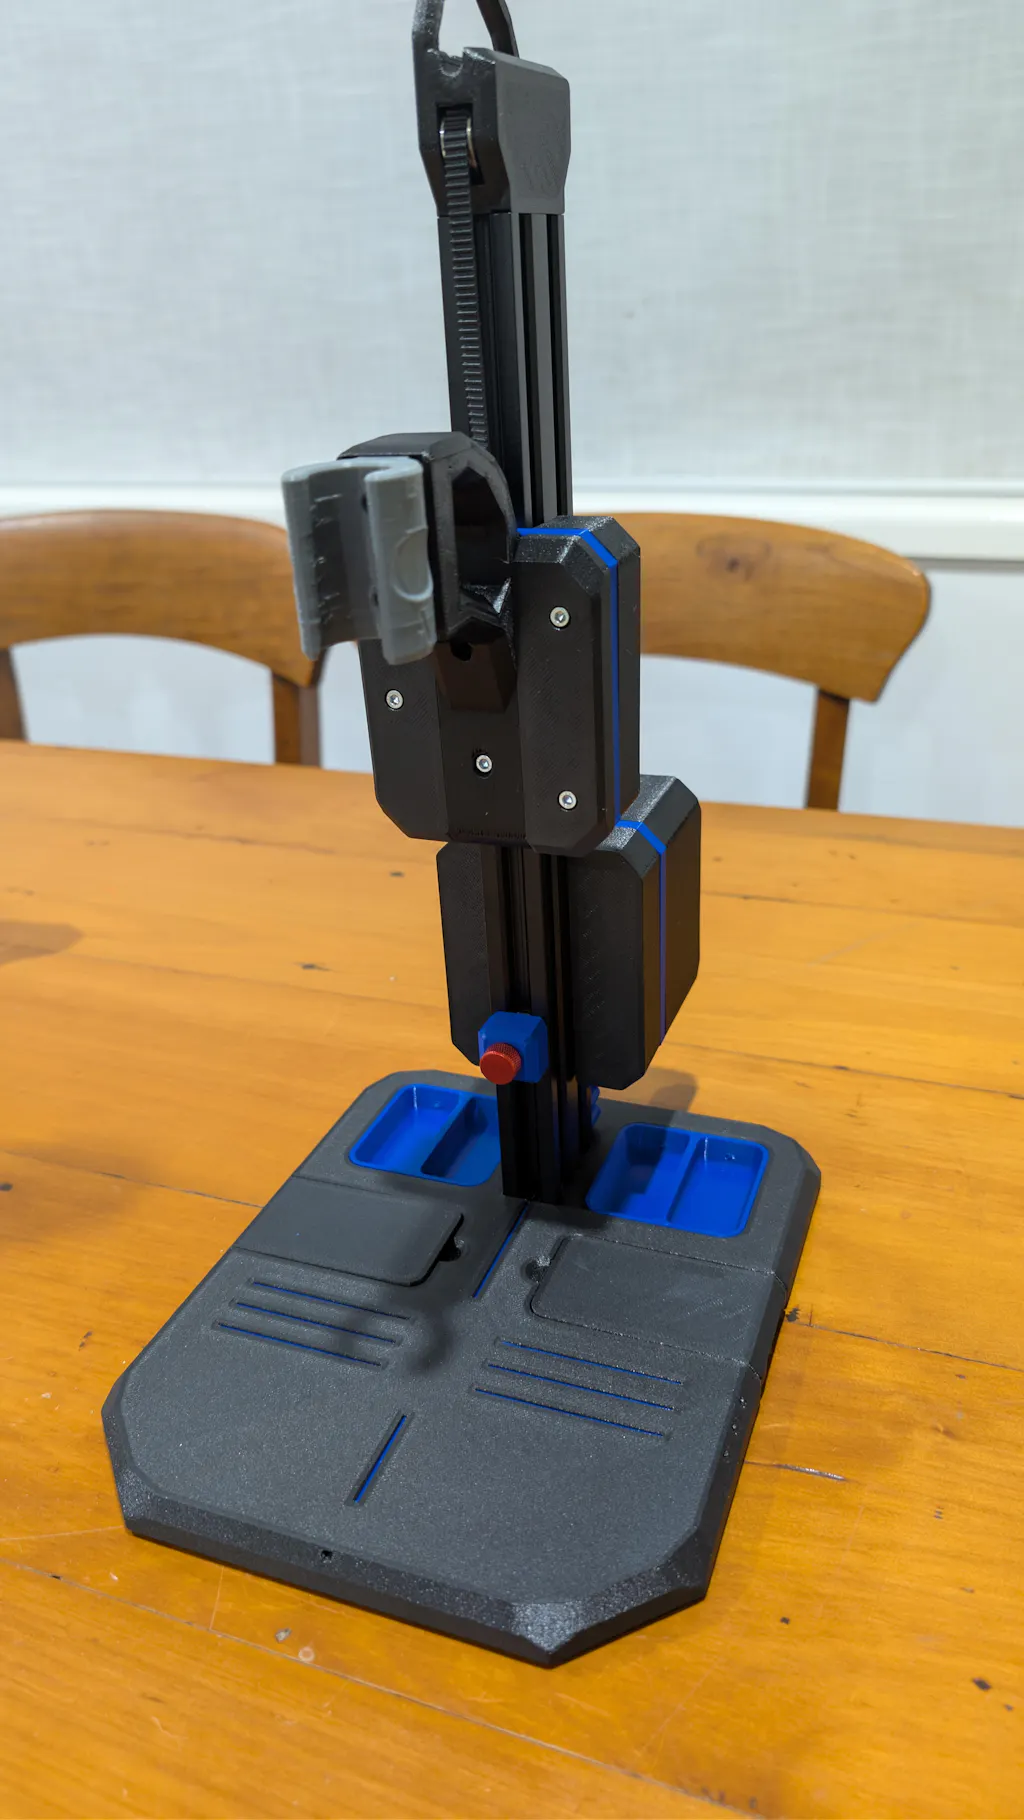
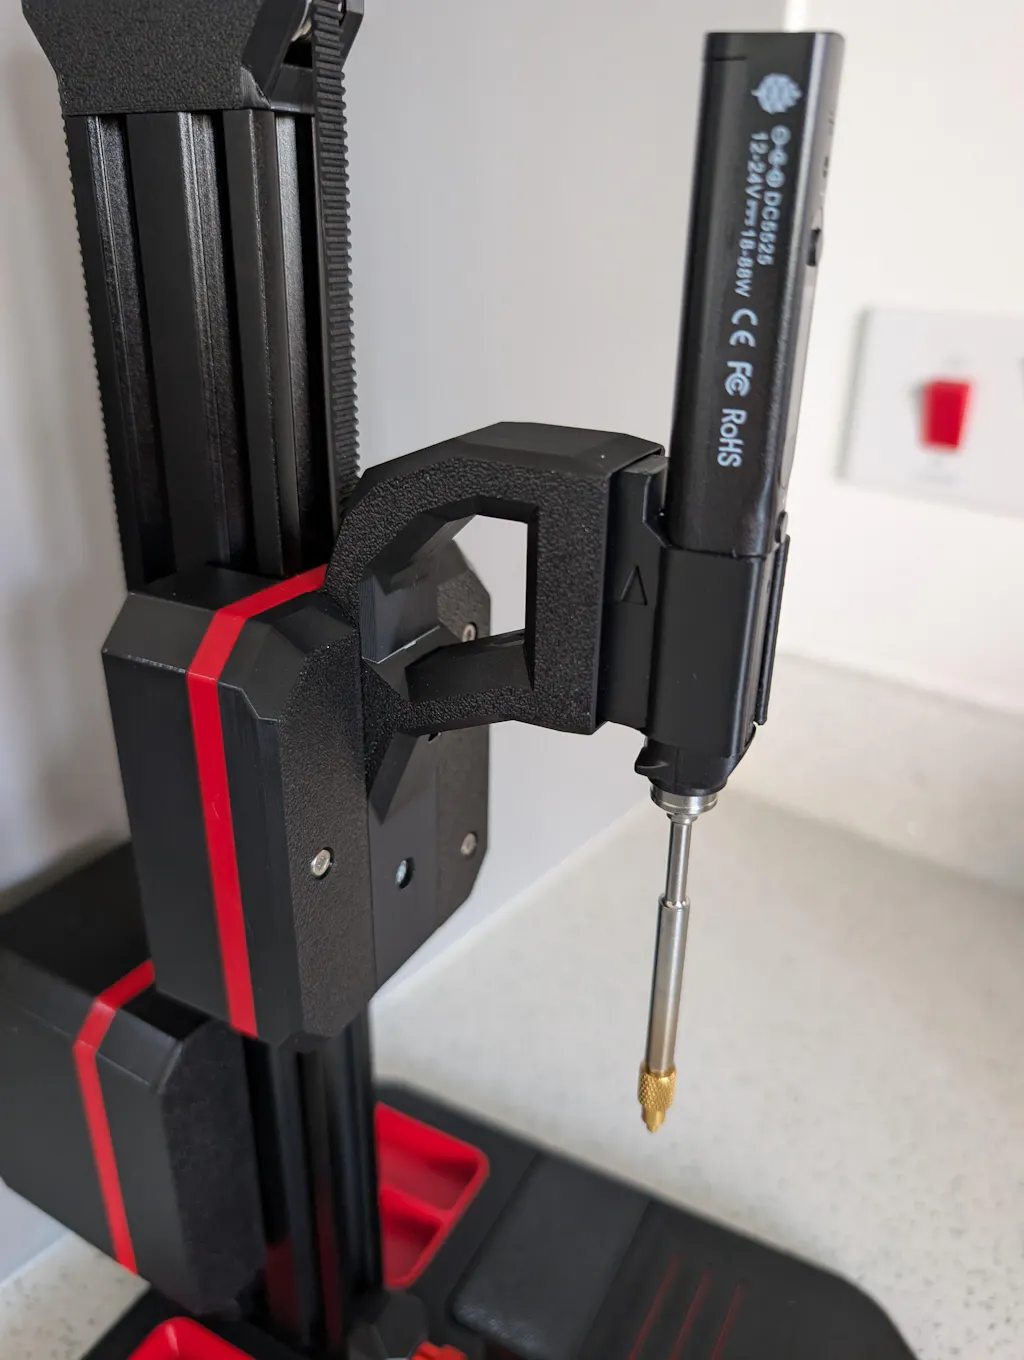
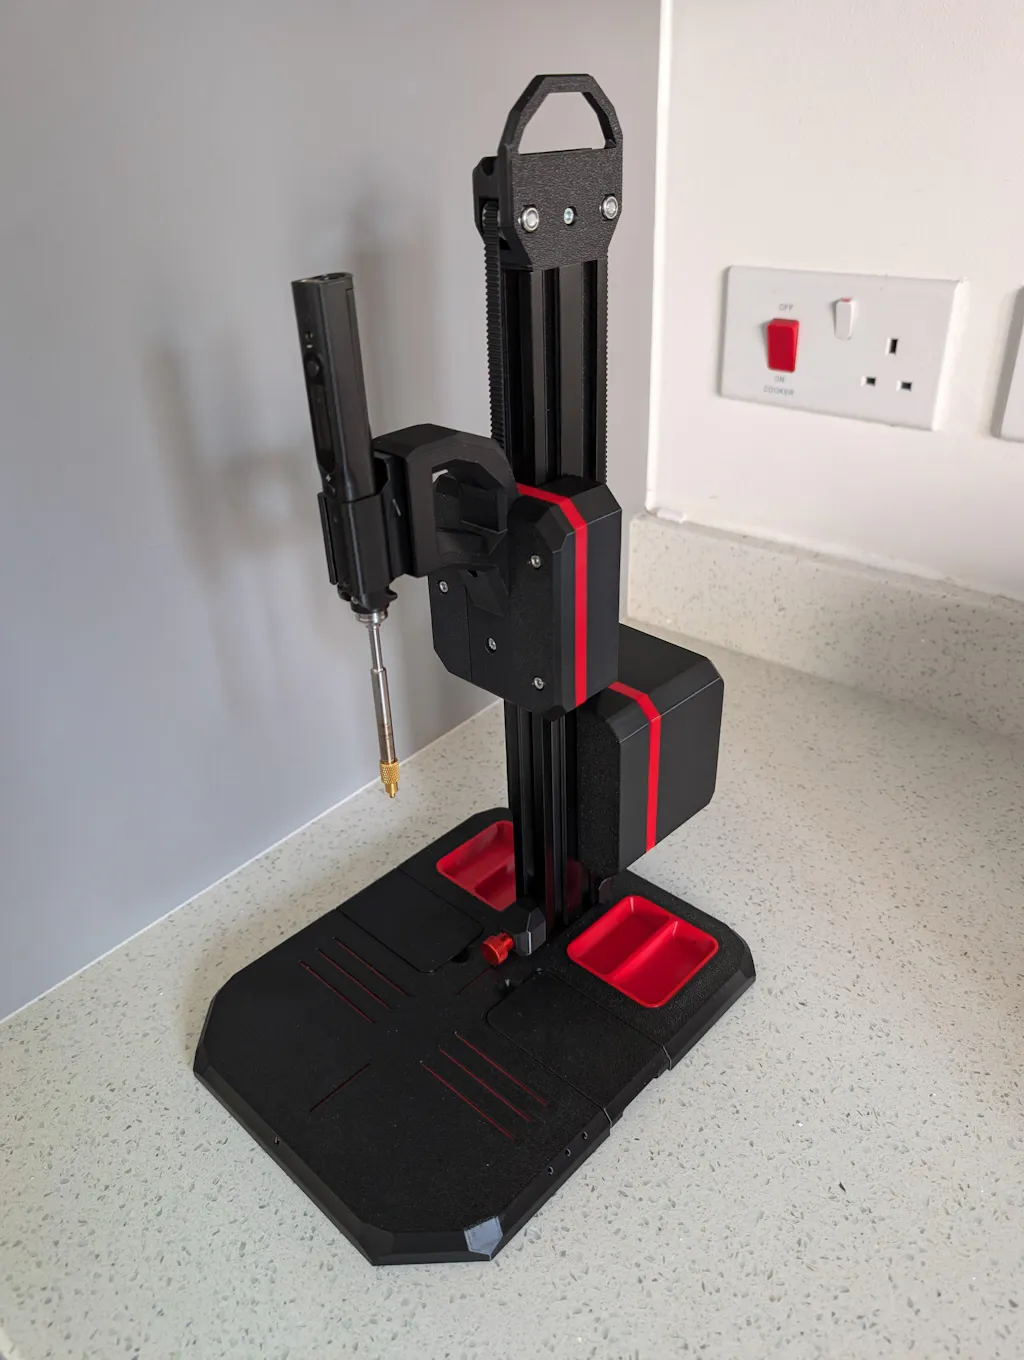
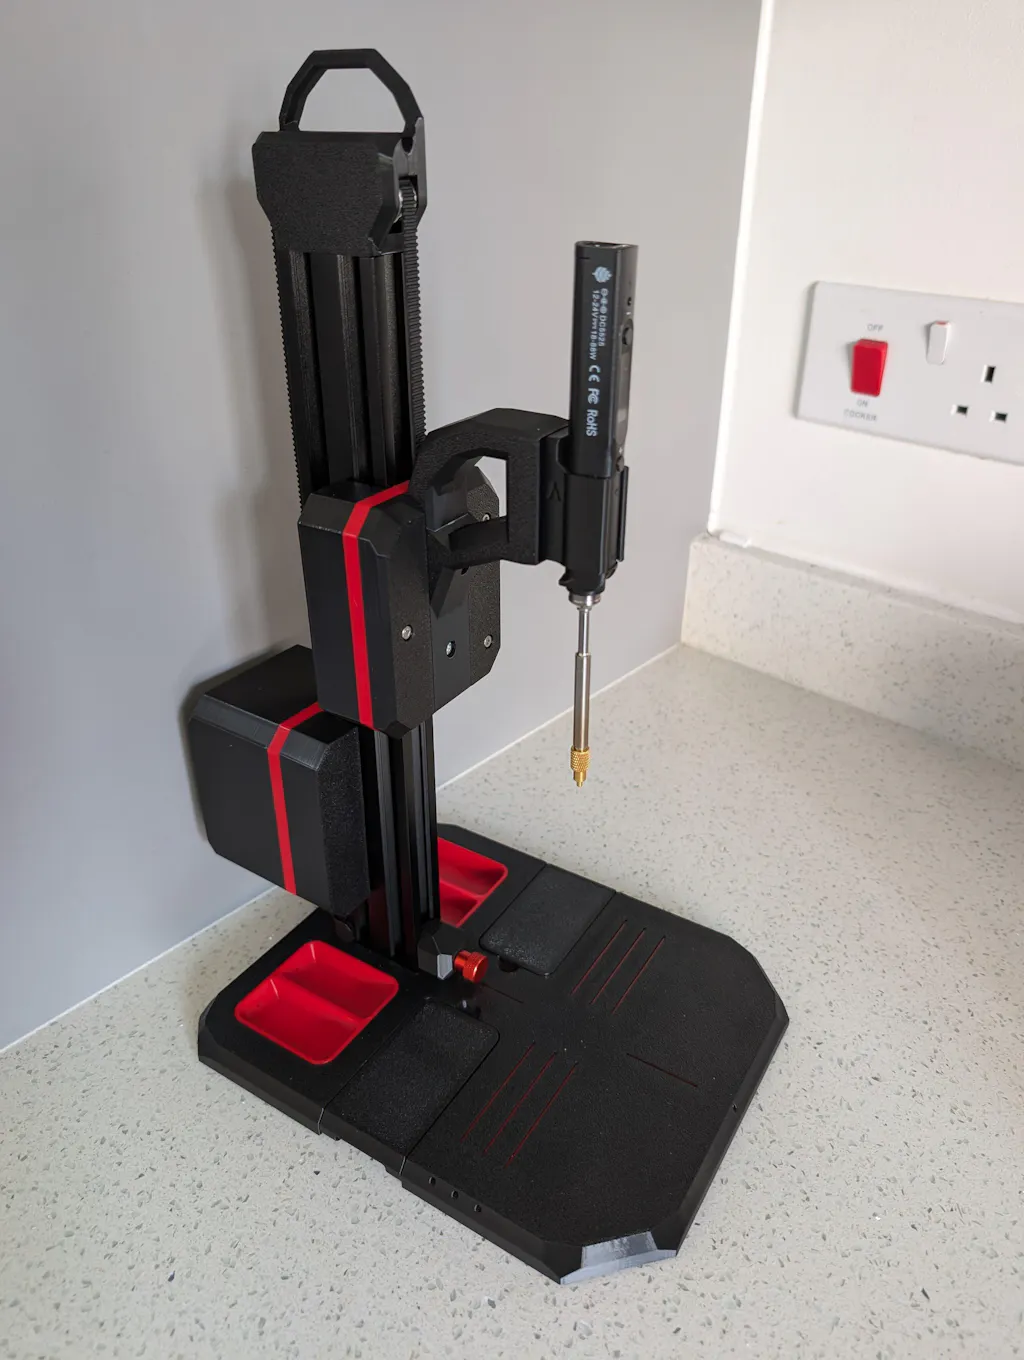
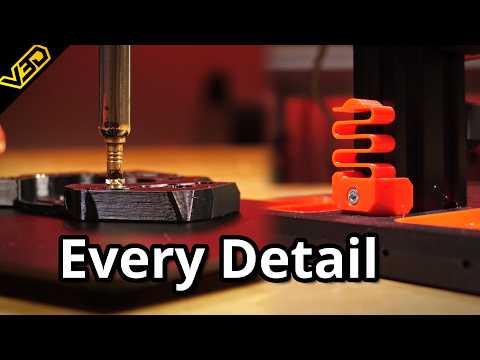
VLMP 2 builds on the incredible success of the original VLMP heat set insert press to bring you a rigid, strong, stable, and precise insert press for high quality repeatable results. This hardware kit includes all the parts you'd need to purchase to build it including the extrusion, V-Slot wheels, screws, counterweights etc. However, it doesn't include the soldering iron.
Contents
Included
- All hardware needed for assembly
- STLs for printed parts
Not included
- Tools for assembly
- filament or printed parts
Printing Parts
We do not offer printed parts for VLMP 2. You can print from any material for most of the design, you just need to make sure the grip is printed from ABS or ASA. The grip is quite small and can be done with a brim so should be achievable on many printers.
Upgrading from Original VLMP?
Upgrading from VLMP 1 is incredibly easy, many of the parts are common, particularly the extrusion, V wheels and idlers so you just the need the upgrade kit and new printed parts. The grip is identical so you don't need to be printing a new one in ABS. For the rest of the parts PLA is fine so pretty much any printer will work. All the parts are designed to be easy to print to success is simple, even for 3D printing beginners.
More info
More info
N/a
Downloads
Downloads
Assembly Video
Share

Very nicely packaged kit, all parts in nice well labelled zip locked bags, followed the video on youtube at half speed although the pdf manual is brilliant. On my setup I used a Pinecil V2 iron with Heat Insert Adapter.
Printed all parts at 35% infill, NO SUPPORTS, I used PETG for the carriage parts, ASA for the soldering Iron Holder and PLA Plus for the other bits. All parts printed on Bambulab A1 and A1 mini.
Tip with the filament when fixing the trays and door in place, cut the end of the filament at an angle and use pliers to push the filament through the holes, pull back the filament a little and cut it so its slightly shorter, you can then push the filament inside the hole so that it cant be seen.
For STL files you get a link to download them from the supplier, however my link went to SPAM folder so check your spam folder if you dont get the link after purchase.
Make sure that you spend time balancing the unit, you need to make sure it goes back up smoothly and slowly, check my video out, make sure you fit the iron and the power cable before balancing and remember when checking balance to loosely fir the cover and screws as they affect the balance.
My Iron is a Pinecil V2 I achieved balance by omitting 7 of the washers from the counterbalance.
To fit the Pinecil you need to remove the green rubber sleeve from the iron and push the iron in to the clip rather than slide it in, I printed the Grip in ASA to help with the heat deformation although PETG might be ok.
Its also worth adjusting both adjustable carriage wheels to make sure that the carriages dont wobble and run smoothly up and down, it doesnt need to be too tight though.
Only slight criticism is that the supplied rubber feet are a lot smaller than the recessed hole they sit in, would have been better to have the holes recessed slightly more and the rubber feet be a snug fit this would really help the feet stay fixed and is a simple mod.
Overall once setup properly its a lovely piece of kit to use, I use it for a professional manufacturing process and its been flawless so far, highly recommend it.
Link To Video
https://drive.google.com/file/d/1MkE63K2gF1seyFAsDTHvgOkTZ5gFGh6b/view?usp=sharing
Nice tool but nice to print myself the parts!
Sent Harware kit is great and instructions are clear.
Really good kit! Everything comes sorted and labeled. Had a lot of fun assembling it!
It's probably the best heat insert tool out in the market. I enjoyed putting it together with the parts i 3d printer. Highly recommend getting this
Great quality product.